
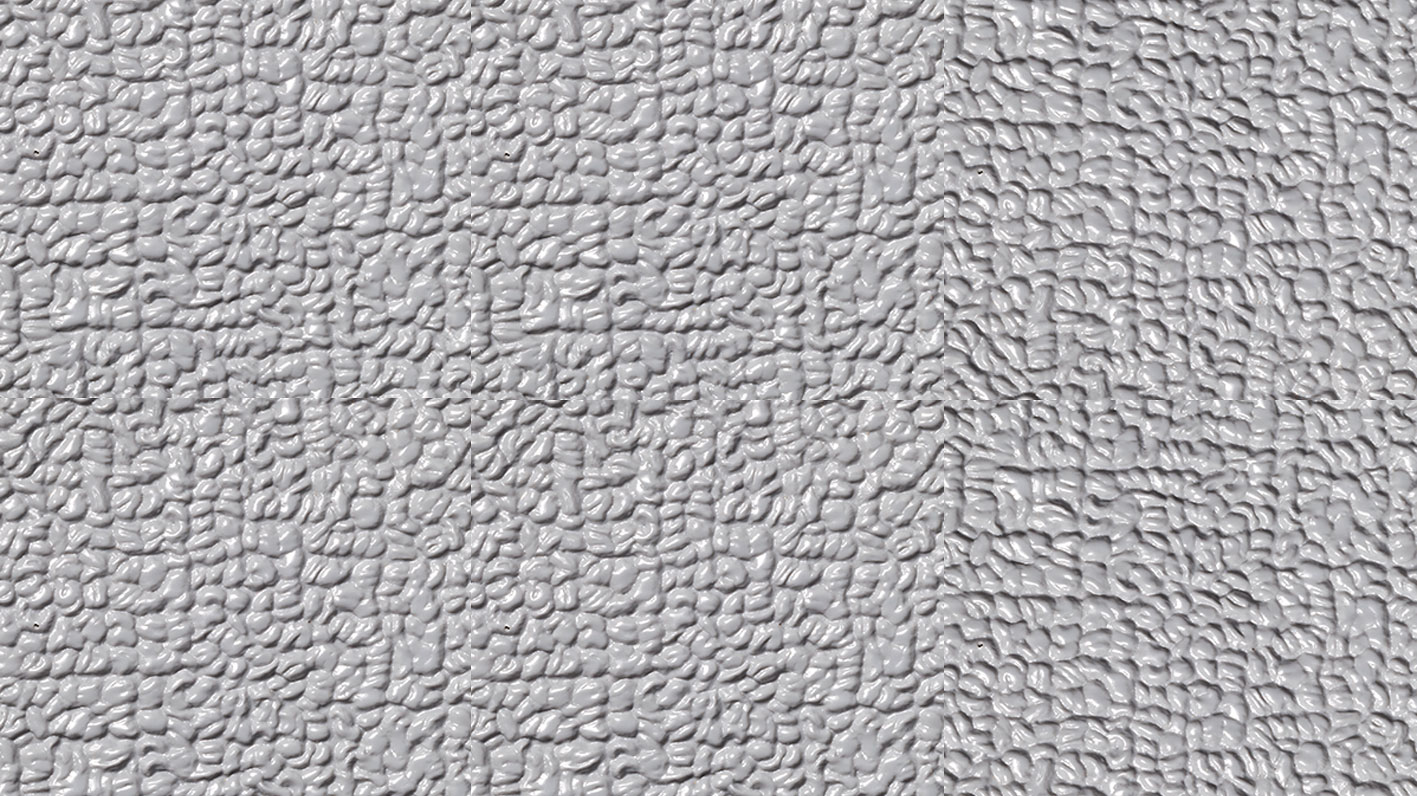
This guide shows how to install MariDeck vinyl flooring on a plywood deck with MD-101 water-based adhesive. It follows MariDeck’s own installation instructions, so read those in full before you start.
Tools to install MariDeck vinyl flooring
- A measuring tape, scissors and a utility knife
- A 9-inch medium nap paint roller with an extension
- A push broom or a linoleum roller
- Throw-away rags
- MD-101 adhesive, which covers about 125 square feet per gallon
Step 1: Prepare the deck
First, remove everything attached to the floor, such as seats, tables and electronics. Also remove the plastic and metal trim, but keep it, because it secures the vinyl edges later. Then strip all of the old carpet, vinyl and adhesive residue.
An older pontoon deck will likely need new wood. In that case, MariDeck calls for 3/4-inch pressure-treated or marine-grade plywood, butted together with a gap of no more than 1/32 inch. Finally, clear away all sawdust, screws and debris.
Step 2: Check that the plywood is bare
Water-based adhesive needs a porous surface to bond. Therefore, do not seal the plywood. However, if the plywood already has a waterproofing sealant, use MD-102 instead.
Step 3: Position the vinyl
Unroll the vinyl over the deck and confirm it is long enough. Then center it, so it overhangs on all four sides, and smooth out any wrinkles. Next, set a few weights on one end, within 24 inches of the edge. Finally, roll the vinyl loosely back to the weights from the other end.
Step 4: Roll on the adhesive
Shake the MD-101 for about 60 seconds before you open it. Then pour it onto the deck in front of the roll and spread it with the paint roller. It should look like a heavy coat of paint, with no puddles or dry spots.
The adhesive dries fast, and the vinyl must go down while it is still wet. Therefore, if you are working alone, glue no more than 15 linear feet at a time.
Step 5: Lay the vinyl
Slowly unroll the vinyl over the wet adhesive, and keep it straight. If a wrinkle forms, lift the vinyl slightly and straighten it. Then sweep the surface with a clean push broom to press out air pockets.
Next, remove the weights, fold back the unglued end and repeat the steps. However, let each new section of adhesive slightly overlap the last one, so there are no gaps.
Step 6: Let it dry
You can walk on the vinyl right away, but heavy foot traffic can cause small wrinkles. In dry weather between 60°F and 90°F, the glue dries in 2 to 3 hours. However, let it dry overnight before you put the seats and equipment back. The trim you saved then goes back on to secure the edges.
More help to install MariDeck vinyl flooring
MariDeck’s full installation instructions (PDF) also cover aluminum and fiberglass floors and seams. In addition, MariDeck recommends its own adhesive. If you use a different one, it must be PVC-compatible, or it can affect how the vinyl looks, bonds and performs. Not sure which thickness to order? Read our guide to 34 mil vs 80 mil vinyl flooring. Once your floor is down, our guide to cleaning and care for marine vinyl flooring shows how to keep it looking new. We also offer free shipping on all orders over $75.
A third-generation family business
BoatVinyl.com is run by a third-generation family business. Our company started in 1947 in the auto industry, and our family’s boating roots go back to the 1950s, when my wife’s grandfather built boats.

